
Overview
Installing the Droplit CLI follows a similar process on all operating systems which Droplit supports.
Before you install the Droplit CLI, make sure you have Node.js installed on your computer.
Node.js Setup: Windows
Node.js Setup: MacOS
Node.js Setup: Linux/Embedded Systems
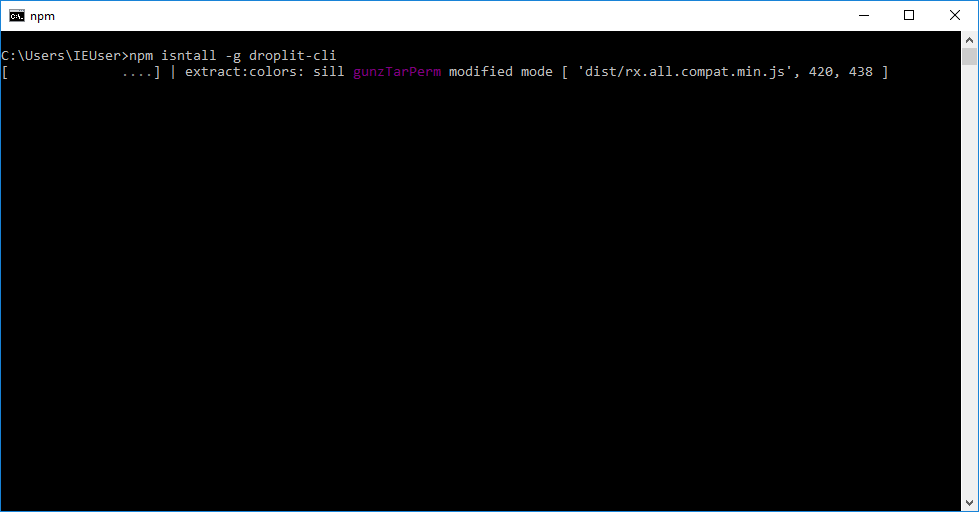
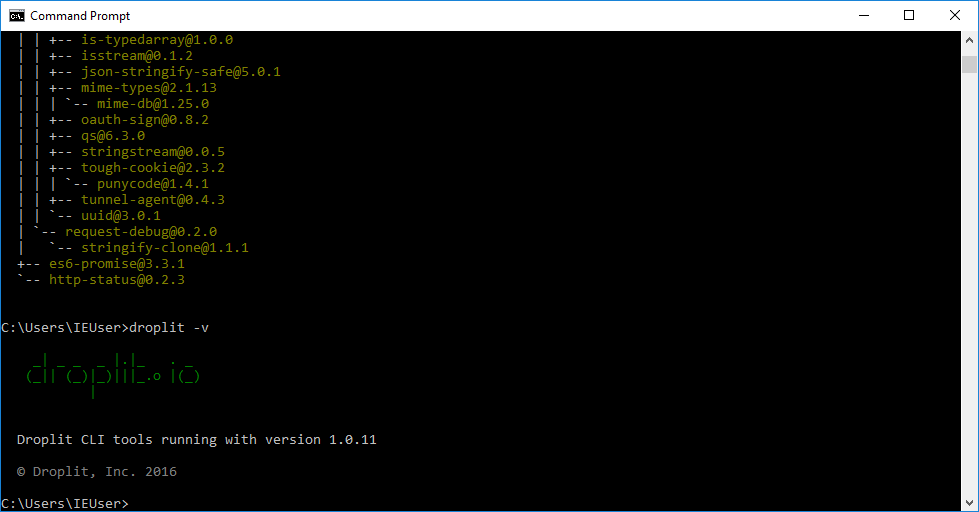
Use the following two commands to install the Droplit command line interface (CLI) globally, and to check its version number, which should prove that it installed correctly. The images below are from a Windows system, but the console content should be the same, regardless of the operating system used. After installation, the Droplit CLI should be available from any directory.
npm install -g droplit-cli
droplit -v
Handling Unix Errors
On Mac OS or Linux/Embedded systems, when installing the CLI, an error like the following may occur. The example image is on a Linux system, but the content is the same on Mac OS and embedded systems.
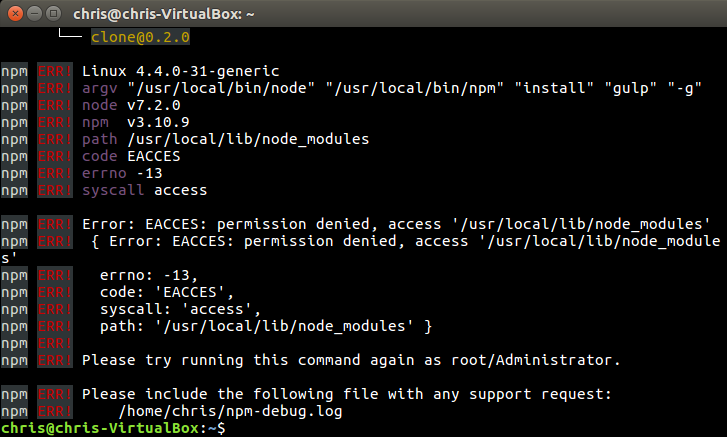
This error is due to a permissions problem in NPM, and can be fixed multiple ways, as described at docs.npmjs.com. Option 2 is the preferred option for the Droplit CLI, as it does not require changing directory ownership, which may be a security risk.
First, change the install location of global packages.
mkdir ~/.npm-global
npm config set prefix '~/.npm-global'
Then, create/edit .bashrc to add the new directory to the system PATH. .bash_profle can also be used for this purpose. .bash_profile is executed for a login shell, while .bashrc is executed for every new shell instance.
echo "export PATH=~/.npm-global/bin:\$PATH" >> ~/.bashrc
Finally, restart the terminal. Once the terminal restarts, one should be able to install and use global packages.