Overview
Droplit is a cloud service that provides API-based control of connected devices. Use the following procedure to create and control a virtual device in this tutorial.
- Create a developer portal account.
- Define a service class.
- Create a virtual device.
- Assign the service class to the device.
- Directly control the virtual device in the developer portal and the command line.
Create a developer portal account.
Go to the Droplit portal to create a free developer account and login.
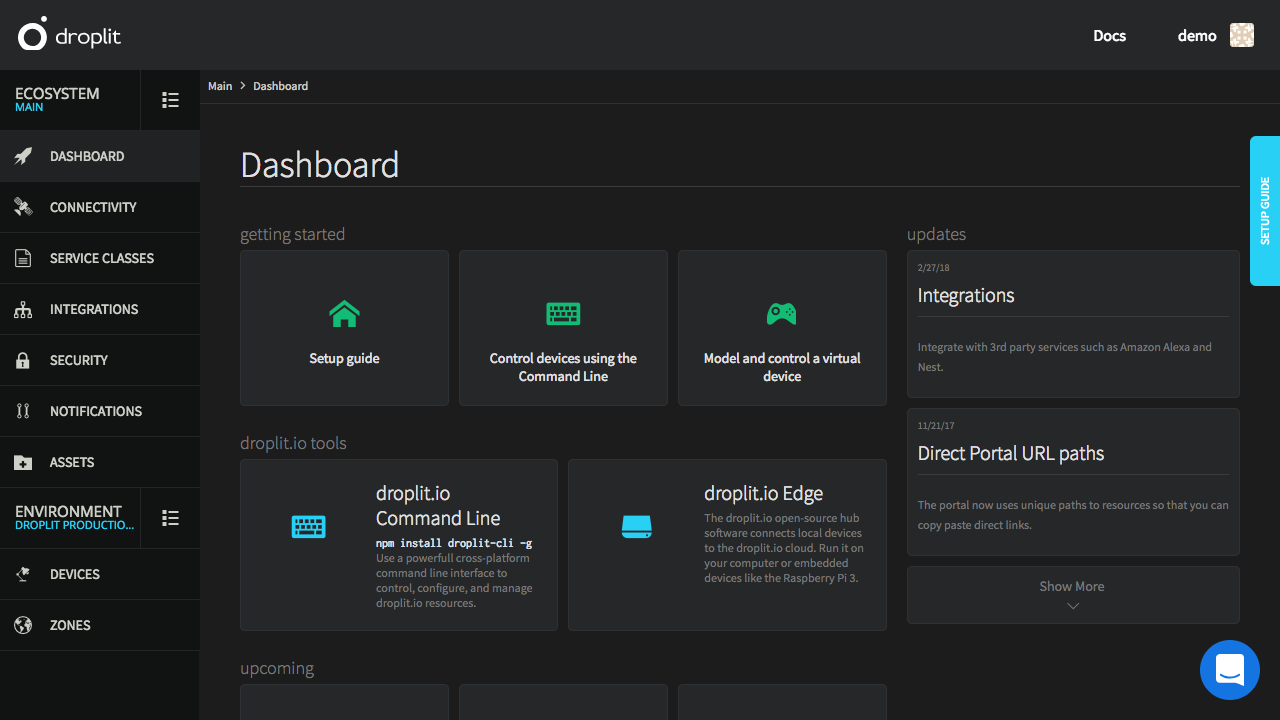
The dashboard of the Droplit portal.
Define a service class.
The goal of this tutorial is to create and control a virtual light bulb. Therefore, the service class must define what the virtual light bulb does. The most basic thing a light bulb does is to turn on and off: a switch. Go to the “Service Classes” area in the portal to begin defining a service class.
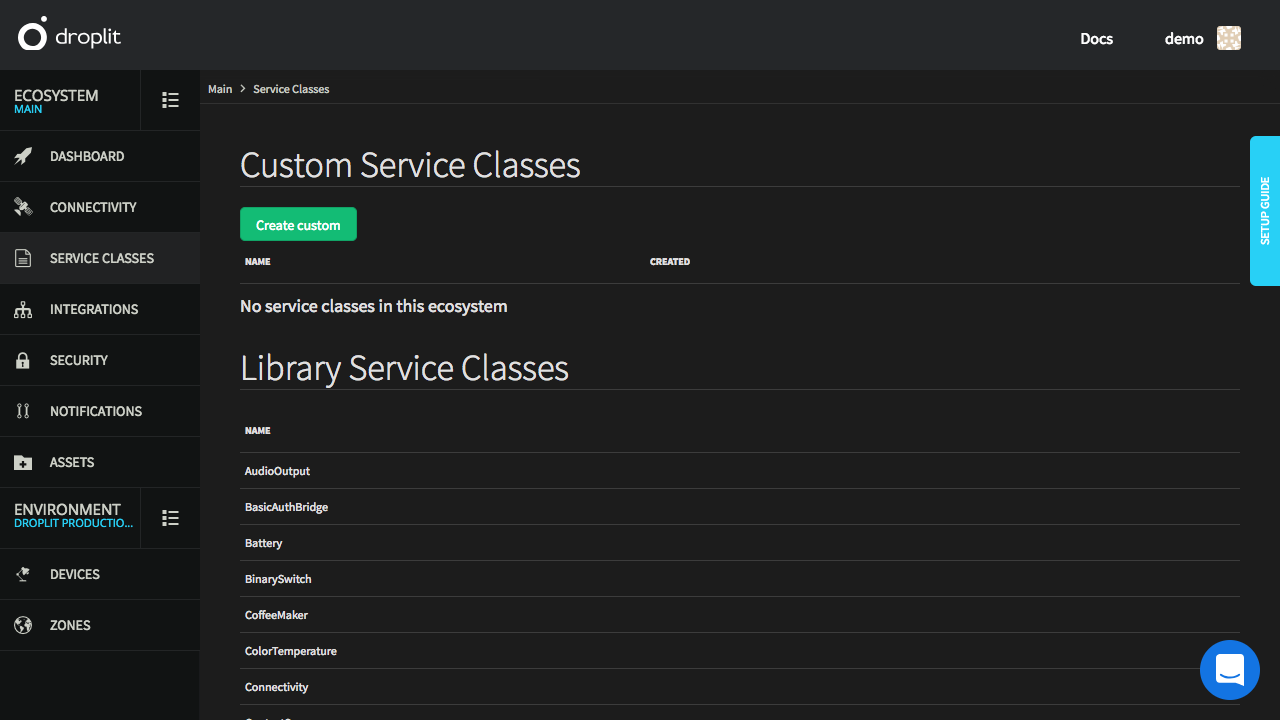
The "service classes" tab on the Droplit portal. No custom classes are defined, but several preconstructed "Libary Service Classes" are provided.
A simple version of a binary switch, which turns on and off, could be defined with the following service class. The class defines a service called “BinarySwitch”. It contains a property called “swtich”, which can have one of two values, “on” or “off”. The class also defines two methods: “switchOn”, which turns on the switch, and “switchOff”, which turns off the switch.
{
	"name": "BinarySwitch",
	"properties": {
		"switch": {
			"description": "On/off state of the switch",
			"enum": [
				"on",
				"off"
			],
			"type": "string"
		}
	},
	"methods": {
		"switchOn": {
			"description": "Sets switch to on"
		},
		"switchOff": {
			"description": "Sets switch to off"
		}
	}
}
The BinarySwitch service class is already included in the Droplit portal as a curated service class, as seen above in the list of "Library Service Classes".
Most modern web browsers can be used to watch API requests made from the portal. Requests can also be monitored using API tools like Fiddler. The portal makes calls to the same API endpoints that are covered later in this documentation.
Create a device.
Go to the “Devices” tab and create a virtual device named TestLight. Set the alias to “TestLight” in order for command line operations later in this tutorial to work properly.
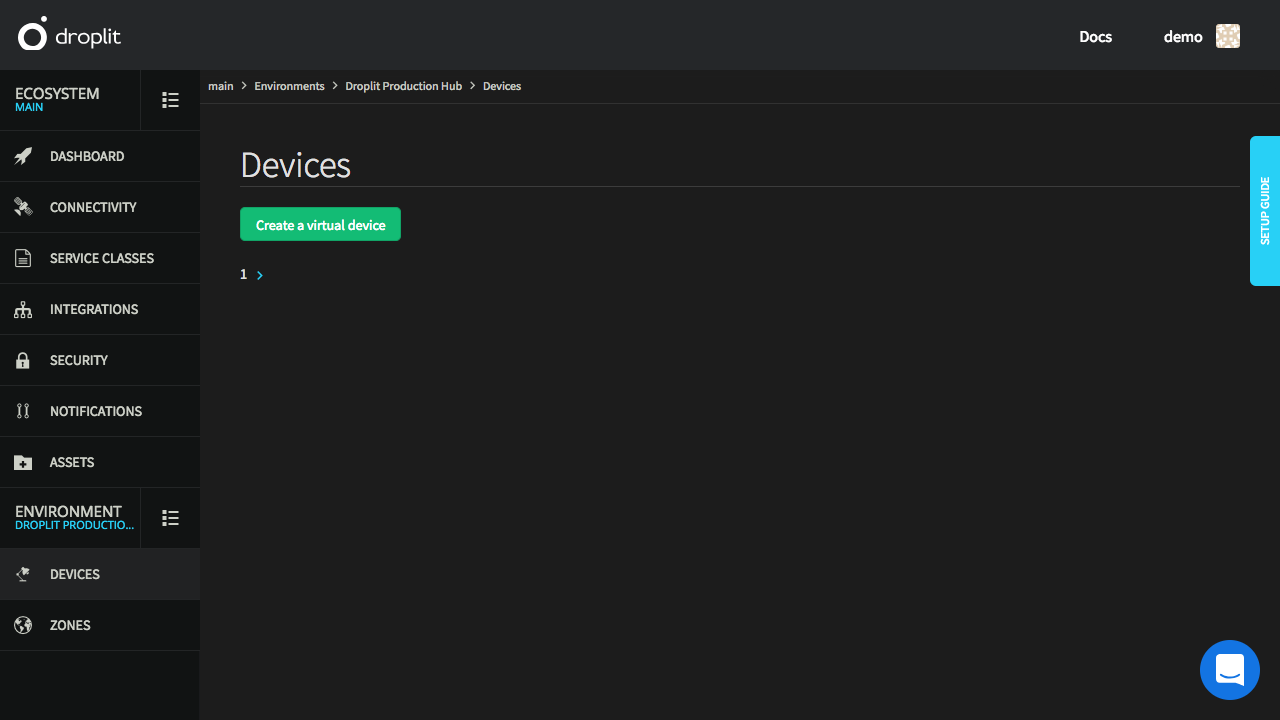
The devices tab of the Droplit portal with no devices created.
Assign the service class to the device.
Devices are displayed in the portal along with the service classes they support. This virtual light currently does not implement any service classes. View details about the device by selecting the card which contains its information.
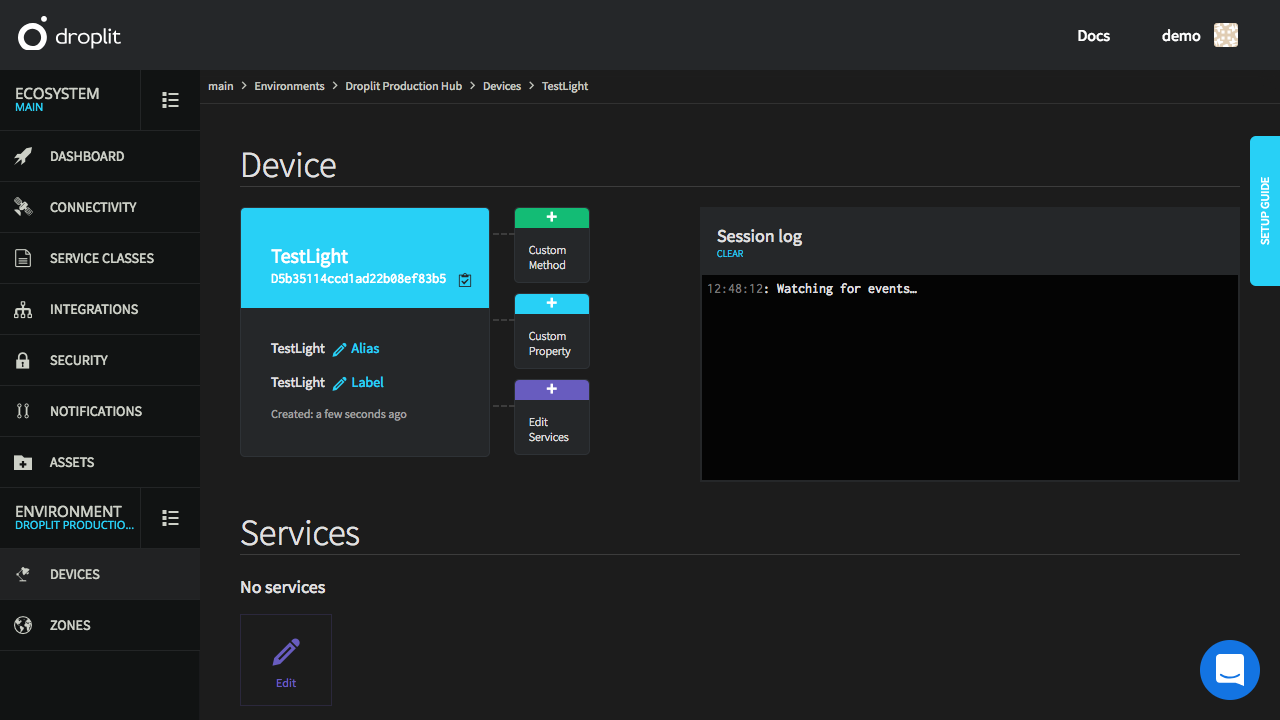
The page for the newly created device "TestLight".
Select “Add Service”. Any service classes that have already been defined will be present in the dropdown list. Select “BinarySwitch” to associate it with the bulb.
Directly control the virtual device in the developer portal and the command line.
The virtual light bulb, “TestLight”, can now be controlled.
For the first test, set the bulb value directly in the portal. The session log will display any events that happen while on the device detail page.
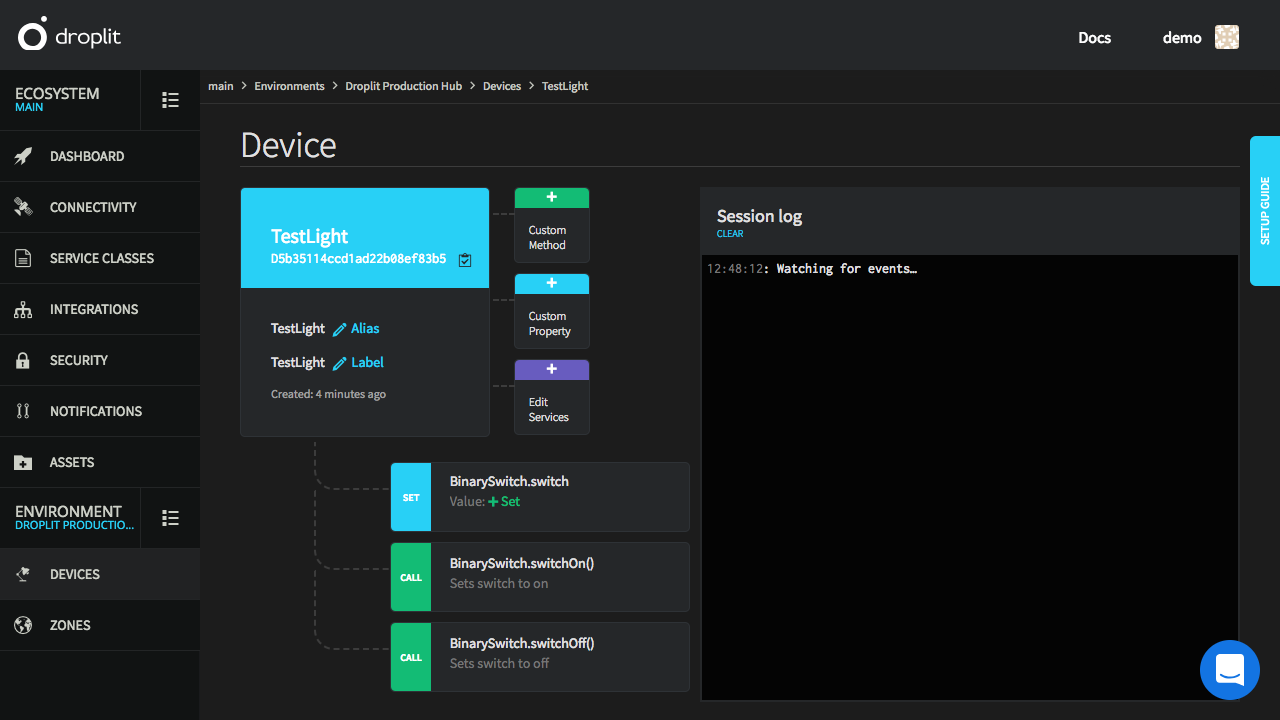
"TestLight" with the "BinarySwitch" service class enabled.
For the next test, control the bulb through the command line. Login to the Droplit console by running the following command, and entering account login credentials when prompted:
droplit account authenticate
Select the ecosystem and environment containing the “TestLight” by running the following commands. The ecosystem and environment IDs can be found on the portal, in the “Ecosystem” and “Environment” areas, respectively.
droplit ecosystem select ECOSYSTEM-ID
droplit environment select ENVIRONMENT-ID
Turn on the “TestLight” by accessing its “BinarySwitch” service class and the class’s “switch” property. Set the property to “on”.
droplit device set TestLight BinarySwitch.switch on
Conclusion
Virtual devices can also be controlled through API calls, and these devices can be used to test application development without requiring physical devices. Physical devices, however, can be controlled in the same way as virtual devices.
This procedure can be followed to control any of the following devices:
- Any of the Philips Hue ecosystem
- Any of the Belkin WeMo devices (other than the crockpot)
- Sonos speakers
- LIFX smart bulbs
- Venstar Voyager thermostat
Please let the developers at Droplit, in the portal chat, know how long this tutorial took to complete.
